in Python")
Optical character recognition (OCR) is a technology that converts images of text into a machine-encoded text format. OCR can recognize typed, printed or handwritten text in images such as scanned documents and photos.
What Is Python Optical Character Recognition (OCR)?
Python OCR is a technology that recognizes and pulls out text in images such as scanned documents and photos using Python. It can be completed in Python using a Python OCR library like pytesseract.
Perhaps you’ve photographed a page of text because you didn’t want to take notes or because taking a photo is faster than typing. Fortunately, we can use OCR so we can copy the photo of text without having to retype anything.
We can apply OCR in Python too, using only a few lines of code. One of the most common Python OCR tools used is the pytesseract library, a wrapper for the Tesseract OCR engine.
Below, we’ll walk through how to install, test and use pytesseract for OCR tasks in Python.
Installing Tesseract and Pytesseract OCR in Python
Before using pytesseract, the first step is to install Tesseract on your system. This is required for the pytesseract library to function.
How to Install Tesseract in Python
If you’re using Ubuntu, you can use apt-get to install Tesseract OCR:
sudo apt-get install tesseract-ocrFor macOS users, you’ll use Homebrew to install Tesseract.
brew install tesseractFor Windows, please see the Tesseract documentation.
How to Install Pytesseract in Python
Now, let’s install pytesseract.
$ pip install pytesseract
Testing Pytesseract OCR in Python
After you complete the installation, it’s time to apply pytesseract. First, import the dependencies.
from PIL import Image
import pytesseract
import numpy as np
Testing Pytesseract on Clear Image
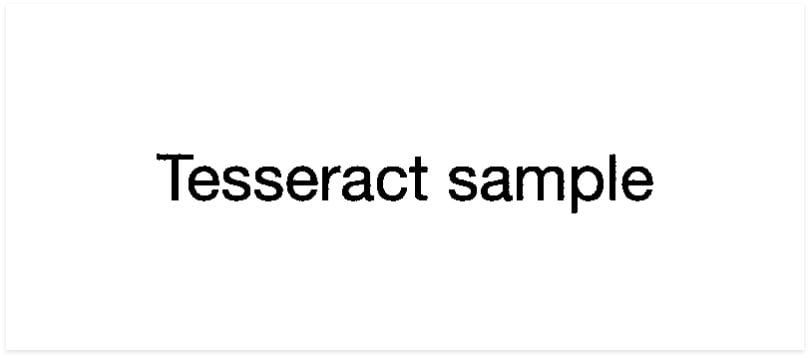
I will use a simple image to test the usage of pytesseract.

Load this image and convert it to text.
filename = 'image_01.png'
img1 = np.array(Image.open(filename))
text = pytesseract.image_to_string(img1)
Now, let’s see the result.
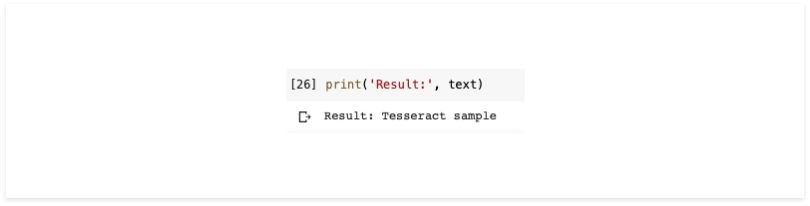
print(text)This is the output:
Testing Pytesseract on Image With Noise
The results obtained from pytesseract are good enough for simple images. However, in the real world it can be difficult to find images that are really simple, so I’ll add noise to test pytesseract’s performance.

I’ll use the same process as before.
filename = 'image_02.png'
img2 = np.array(Image.open(filename))
text = pytesseract.image_to_string(img2)
print(text)
This is the result:

You can see the result is nothing. This means that pytesseract cannot read words in images that have noise.
Testing Pytesseract on Image With Removed Noise
Next, I’ll use the OpenCV library and a little image processing to eliminate noise in the image. In this experiment, I’m using normalization, thresholding and image blur.
import numpy as np
import cv2

img = cv2.imread('image_02.png', 0)
norm_img = np.zeros((img.shape[0], img.shape[1]))
img = cv2.normalize(img, norm_img, 0, 255, cv2.NORM_MINMAX)
img = cv2.threshold(img, 100, 255, cv2.THRESH_BINARY)[1]
img = cv2.GaussianBlur(img, (1, 1), 0)
The result will look like this:
Now that the image is clean enough, try again using the same pytesseract process as before.
This is the result:

As you can see, the results are in accordance with what we expect.
Text Localization and Detection With Pytesseract OCR in Python
With pytesseract, we can also do text localization and detection from images.
First, enter the dependencies we need.
from pytesseract import Output
import pytesseract
import cv2
I will use another simple image to test pytesseract.
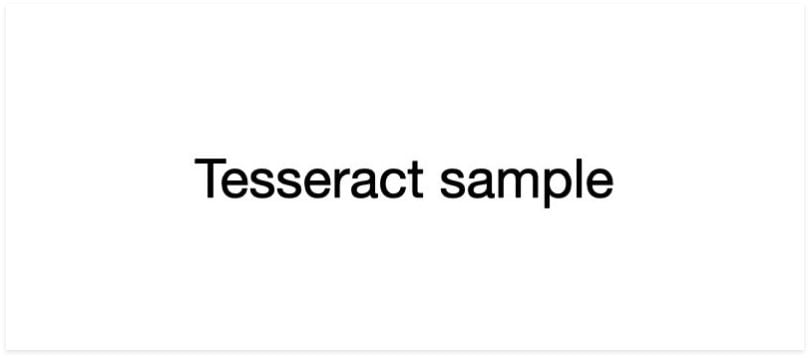
Now, load this image and extract the data.
filename = 'image_01.png'
image = cv2.imread(filename)
This is different from what we did in the previous example wherein we immediately changed the image into a string. In this example, we’ll convert the image into a Python dictionary.
results = pytesseract.image_to_data(image,
output_type=Output.DICT)
The following results are the contents of the dictionary:
{
'level': [1, 2, 3, 4, 5, 5, 5],
'page_num': [1, 1, 1, 1, 1, 1, 1],
'block_num': [0, 1, 1, 1, 1, 1, 1],
'par_num': [0, 0, 1, 1, 1, 1, 1],
'line_num': [0, 0, 0, 1, 1, 1, 1],
'word_num': [0, 0, 0, 0, 1, 2, 3],
'left': [0, 26, 26, 26, 26, 110, 216],
'top': [0, 63, 63, 63, 63, 63, 63],
'width': [300, 249, 249, 249, 77, 100, 59],
'height': [150, 25, 25, 25, 25, 19, 19],
'conf': ['-1', '-1', '-1', '-1', 97, 96, 96],
'text': ['', '', '', '', 'Testing', 'Tesseract', 'OCR']
}
Rather than explain the purpose of each value in the dictionary, I’ll use the left, top, width and height to draw a bounding box around the text along with the text itself. In addition, I’ll need a conf key to determine the boundary of the detected text.
Now, we will extract the bounding box coordinates of the text region from the current result, and we’ll specify the confidence value we want. Here, I’ll use the value conf = 70.
The code will look like this:
for i in range(0, len(results[“text”])):
   x = results[“left”][i]
   y = results[“top”][i]

   w = results[“width”][i]
   h = results[“height”][i]

   text = results[“text”][i]
   conf = int(results[“conf”][i])

   if conf > 70:
       text = "".join([c if ord(c) < 128 else "" for c in text]).strip()
       cv2.rectangle(image, (x, y), (x + w, y + h), (0, 255, 0), 2)
       cv2.putText(image, text, (x, y - 10),
cv2.FONT_HERSHEY_SIMPLEX, 0.5, (0, 0, 200), 2)
Now that everything is set, we can display the results using this code.
cv2.imshow(image)This is the result:
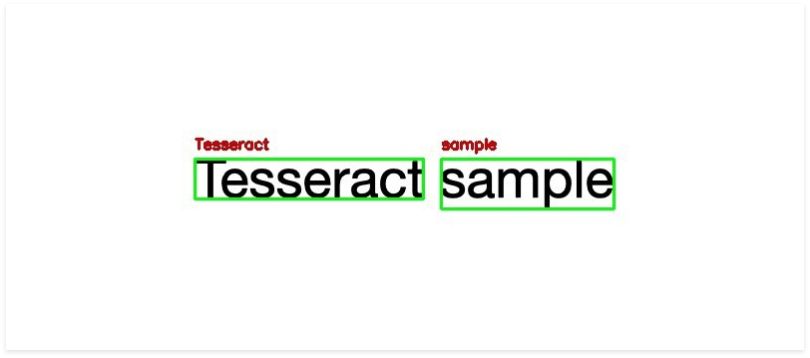
Ultimately, pytesseract is most suitable when you’re building a document processing pipeline where images are scanned and processed. This works best for situations with high-resolution input, where foreground text is neatly segmented from the background.
For text localization and detection, there are several parameters that you can change, such as confident value limits. Or if you find that unattractive, you can change the thickness or color of the bounding box or text.
Python OCR Libraries to Know
Python supports various OCR libraries for extracting text from images. Here’s some of the most popular ones that can be used in Python.
Pytesseract
Pytesseract, or Python-tesseract, is an OCR library for Python that uses the Tesseract open-source OCR engine. The pytesseract library is a wrapper for Tesseract, which applies the engine to read text embedded in images. Pytesseract can read all image types supported by the Pillow and Leptonica imaging libraries.
EasyOCR
EasyOCR is an open-source Python OCR module developed by Jaided AI. It can read both natural scene text and dense text included in documents, and supports over 80 written languages.
Keras-OCR
Keras-OCR is a Python package that includes pre-trained OCR models and an end-to-end training pipeline to build new OCR models. Its training pipeline provides Python methods for building and training base text detector and recognizer models.
DocTR
DocTR is a Python OCR library used for OCR automation in natural language understanding tasks and for OCR research. Powered by TensorFlow and PyTorch, docTR includes pretrained, two-stage (detection and recognition) OCR models with high performance on public document data sets.
Frequently Asked Questions
How hard is it to build an OCR in Python?
Building an optical character recognition (OCR) system in Python can be straightforward when using Python OCR libraries with ready-to-use functions or pretrained models, like pytesseract, EasyOCR, keras-OCR or docTR. In contrast, building an OCR system in Python from scratch can be more difficult and require additional programming knowledge.
What is the most popular OCR in Python?
Pytesseract, or Python-tesseract, is one of the most popular Python OCR libraries. It is a wrapper for the Tesseract OCR engine.