LaTeX is a typesetting document system that is most commonly used to produce technical and scientific documents. In this article, we will focus on the package graphicx, which allows us to add images often included in articles. We will provide a detailed explanation of how to insert side-by-side images using the figure and minipage environments.
How to Include Two Pictures Side-by-Side in LaTeX
Two pictures can be included side-by-side in LaTeX using the graphicx package. This can be done using the figure or minipage environment. The figure environment allows images to be added using the includegraphics command. The minipage environment allows images to be added as mini pages so that you can include multiple captions.
There are several reasons why you might want to add images side-by-side. Maybe you want to contrast two images, group images that belong to the same classification or just save space on your document.
Let’s take a look at how that works.
Side-by-Side Images: The Figure Environment
To start, don’t forget that you need to import the graphicx package in the preamble.
First, let’s begin with the figure environment. We just need to add the images in different includegraphics commands.
Before the example, there are a couple important factors to keep in mind:
- The total width of all the figures must not exceed the page width. Otherwise, the figures will be inserted one below other.
- There must not be any line breaks between the
includegraphicscommand.
An example is:
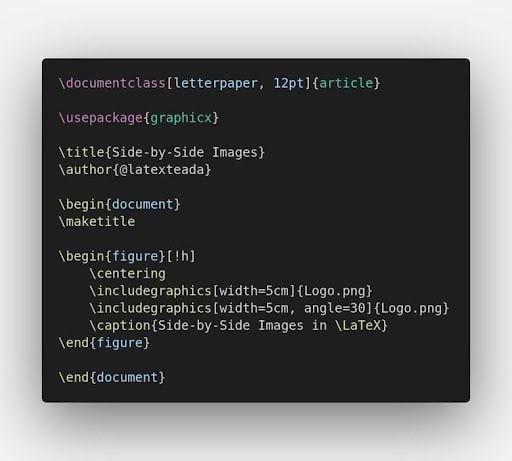
This code produces:

We can use \hfill to separate the figures by the available horizontal space.
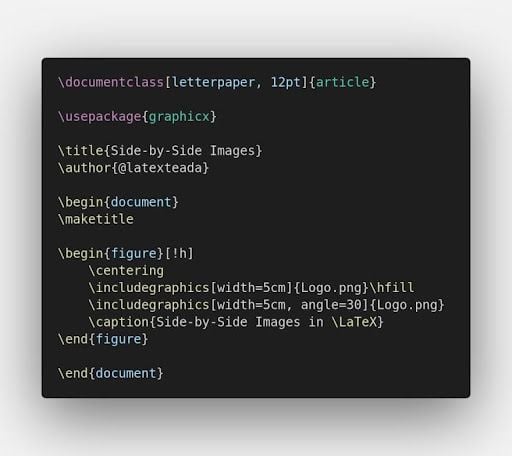
This code produces:
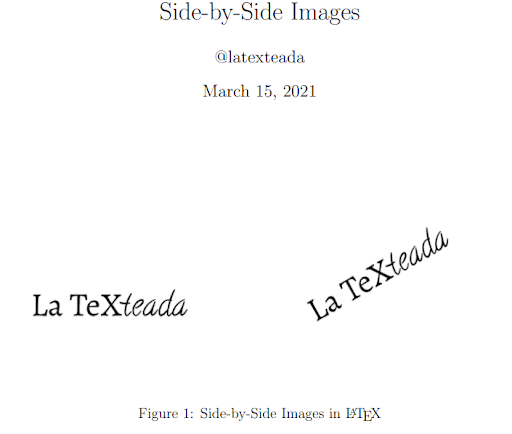
While the difference may not seem so big here, you can try it with different sized images to notice a bigger difference. That is how you can put side-by-side images in LaTeX, but did you notice: There is just one caption for all of the images.
If you want to explain or provide a caption for each image, there is a way to do it.
Side-by-Side Images in LaTeX: The minipage Environment With Captions
Theminipage environment, as its name suggests, creates a mini page inside the page. You can configure its width and the content it will have:
\begin{minipage}[position]{width}
content
\end{minipage}
Where position could be
ccentertat the topbat the bottom
And width can be:
- An explicit measure, for example: 3 cm or 8 cm.
- A portion of the width of the page, we can do it with
X\linewidthwhere X is the percentage of the page, 0<X<1, for example,`0.5\linewidth*is 50 percent of the page’s width.
For example:
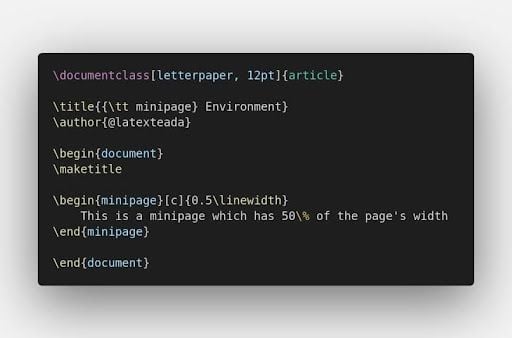
This code produces:

Images and Minipage
If you want to add multiple images with a different caption, you need to put those in the minipage environment.
Remember that you need to have the graphicx package imported. You can add a general caption, just before the \end{figure} command:
For example:
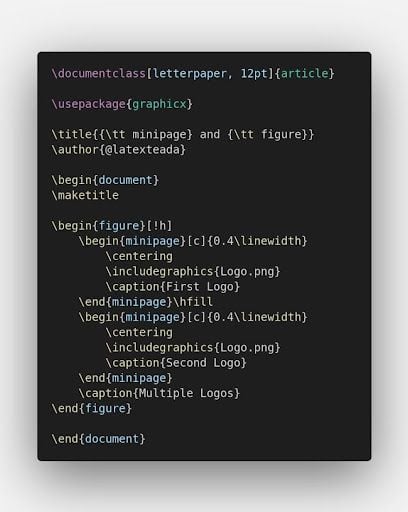
This code produces:
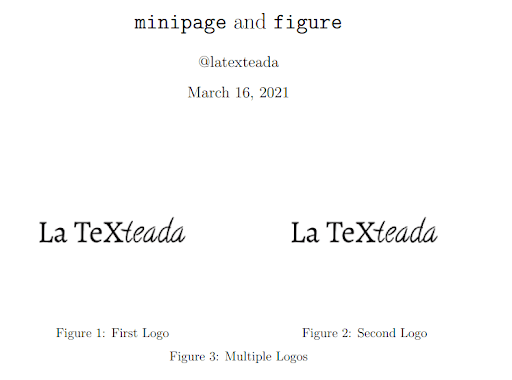
And that’s everything you need to know to include side-by-side images in LaTeX.
Frequently Asked Questions
What is LaTeX?
LaTeX is a typesetting document system that is most commonly used to produce technical and scientific documents.
How do you add two images side-by-side in LaTeX?
You can add two images side-by-side in LaTex using the graphicx package. You can use the following features to adjust the images:
/hfillallows the images to be separated by horizontal space.Minipageenvironment creates a mini page within the LaTeX document where you can add individual captions for each image.Positionsets the position for the image.Widthsets the width.


