

Python has emerged as one of the most popular and widely used languages across the globe. Popular for its simplicity and readability, Python finds application in a multitude of areas, ranging from desktop applications to web development to artificial intelligence. If you want to start writing in Python, you’ll need to download it.
4 Steps to Install Python on Windows 10
- Go to Python’s website and download the latest version of Python.
- Select “Windows installer” and click download.
- Follow the on-screen instructions.
- Verify the installation by opening a command prompt and typing:
python -V.
In this article, I’ll share a few ways you can install Python on your Windows PC.
Python Installation Prerequisites
- A PC with Windows 10.
- An internet connection.
How to Install Python on Windows With Python Installer
First, go to the Python website and click on the “Download Python” button. Select the latest version. As of this writing, that would be Python 3.11.4.
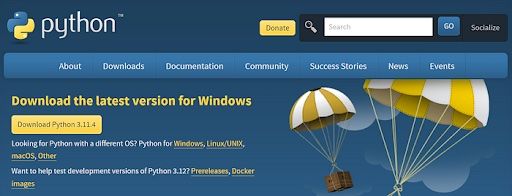
Select the “Windows installer” option and click on the “Download” button. Once the download is complete, run the installer.
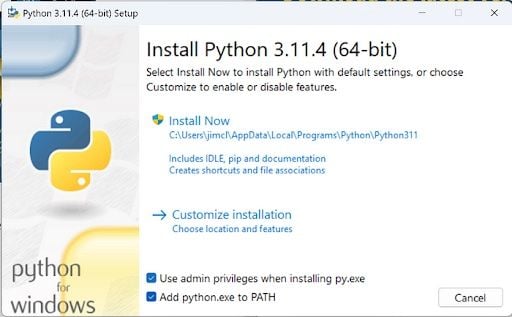
During the process, it’s advisable to check the boxes “Use admin privileges when installing py.exe” and “Add python.exe to PATH” to save the trouble of manual adjustments in the environment variable later.
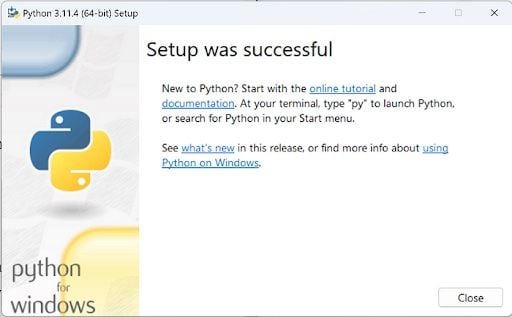
Then, follow the on-screen instructions to install Python. Once the installation is complete, you should see a success message like this:
You can verify that Python has been installed by opening a command prompt and typing the following command: python -V.
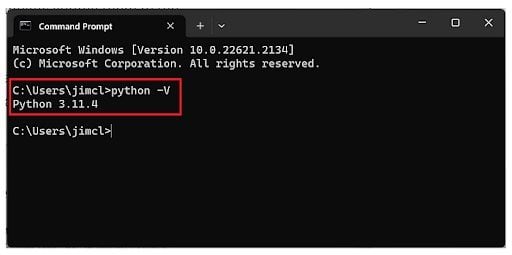
This will display the Python version currently installed.
The advantage of installing Python via an installer file is that it is easy to use but requires a few more clicks than installing Python via the command-line interface (CLI).
How to Install Python on Windows Via CLI
Windows doesn’t have a built-in package manager like some other operating systems, but you can use a third-party package manager like Chocolatey.
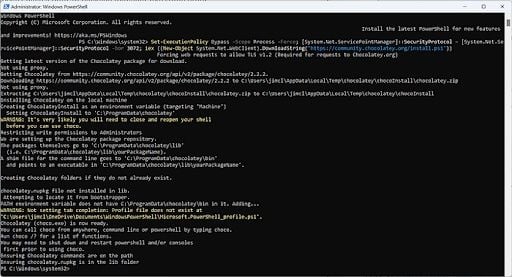
First, go to the Chocolatey website and follow the installation instructions. You have to run the following command in an elevated PowerShell.
Set-ExecutionPolicy Bypass -Scope Process -Force; [System.Net.ServicePointManager]::SecurityProtocol = [System.Net.ServicePointManager]::SecurityProtocol -bor 3072; iex ((New-Object System.Net.WebClient).DownloadString('https://community.chocolatey.org/install.ps1'))
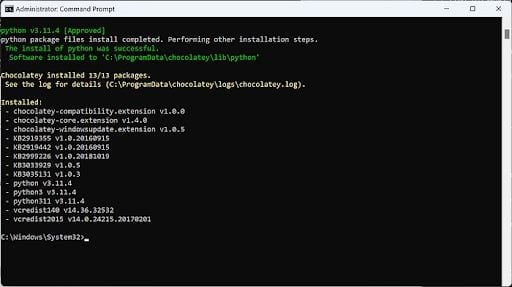
Open a command prompt as an administrator and run the following command to install Python:
choco install pythonIf the installation is successful, you should see the following message:
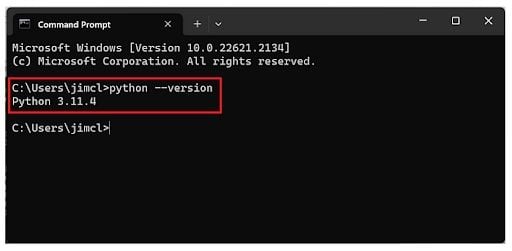
Once the installation is complete, you can check the Python version by running python --version in the command prompt.
Installing via the CLI is a more direct and efficient way to install Python, and it allows you to install the latest version. However, itcan be more difficult than using a Python installer, especially for beginners.
How to Install Python Using Windows Subsystem for Linux
This method allows you to run a Linux distribution alongside your existing Windows installation. You’ll need to first install Windows Subsystem for Linux.
To start installing Python, open an elevated PowerShell and run this command:
wsl — install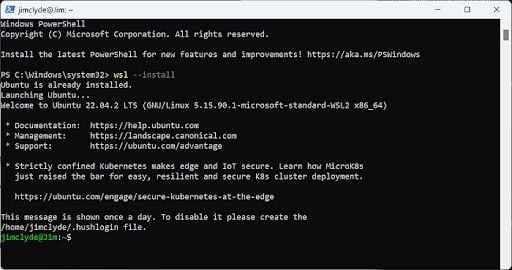
Follow the on-screen instructions and restart your computer if prompted. Then, open WSL on the CLI again and install Python by running this command:
sudo apt install python3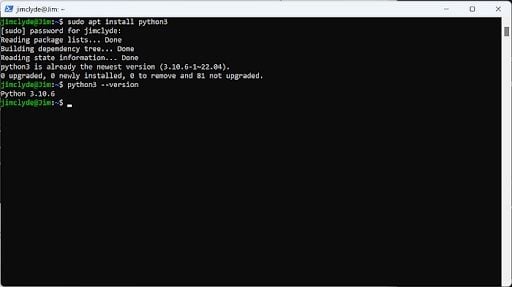
To verify the installation, run the command python3 --version in the command prompt.
How to Uninstall Python
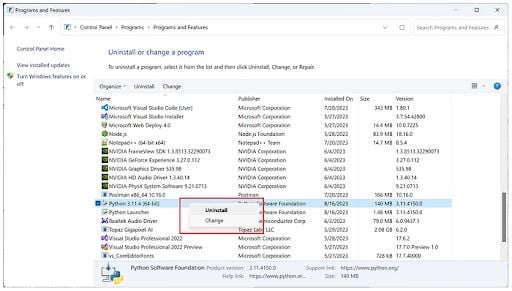
Uninstalling is pretty simple; just open the “Programs and Features” window, right-click on the Python installed, and select “Uninstall”.
Alternatively, you can also uninstall Python from the CLI by running the following command:
choco uninstall python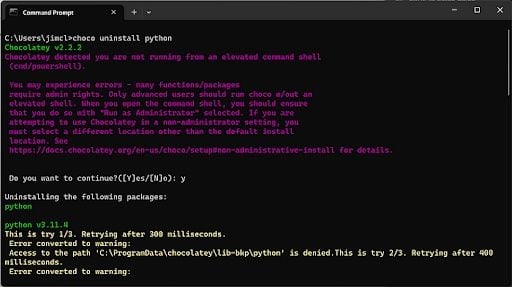
Regardless of the method you used to uninstall, you may want to check the following to ensure Python is completely removed:
Ensure any Python references are removed from the system PATH variable. This can be edited through “System Properties → Advanced → Environment Variables.”
You might also want to manually delete any leftover Python directories from your system, particularly in places like C:\Program Files\ or C:\Users\[YourUsername]\AppData\Local\.
At this point, you should have a Python 3 programming environment set up on your local Windows machine and can begin coding your projects.